
Small premise:
What we see today can be dangerous if done carelessly.
So be careful!!

Following the wave of "renovation" I'm about to introduce a new invention to recycle what we already have at home without replacement.
This time I present a nice tutorial on thermoforming.
To begin with we need a few things:
- constructing machinery for thermoforming (there are some projects around the internet).
- Purchase a DIY a sheet of clear PVC to 0.4 mm (it is not easy ... vero, ho girato per giorni!!!).
- Comprare un bel bidone aspiratutto che, come suggerisce vagamente il nome, aspira TUTTO!
- Trovare una resistenza per forno.
- Armarsi di santa pazienza.
E adesso vi presento i pezzi uno ad uno.
Quella che vedete sopra è la presa da termoformare...può essere di qualsiasi materiale, basta che sia un po' resistente al calore.
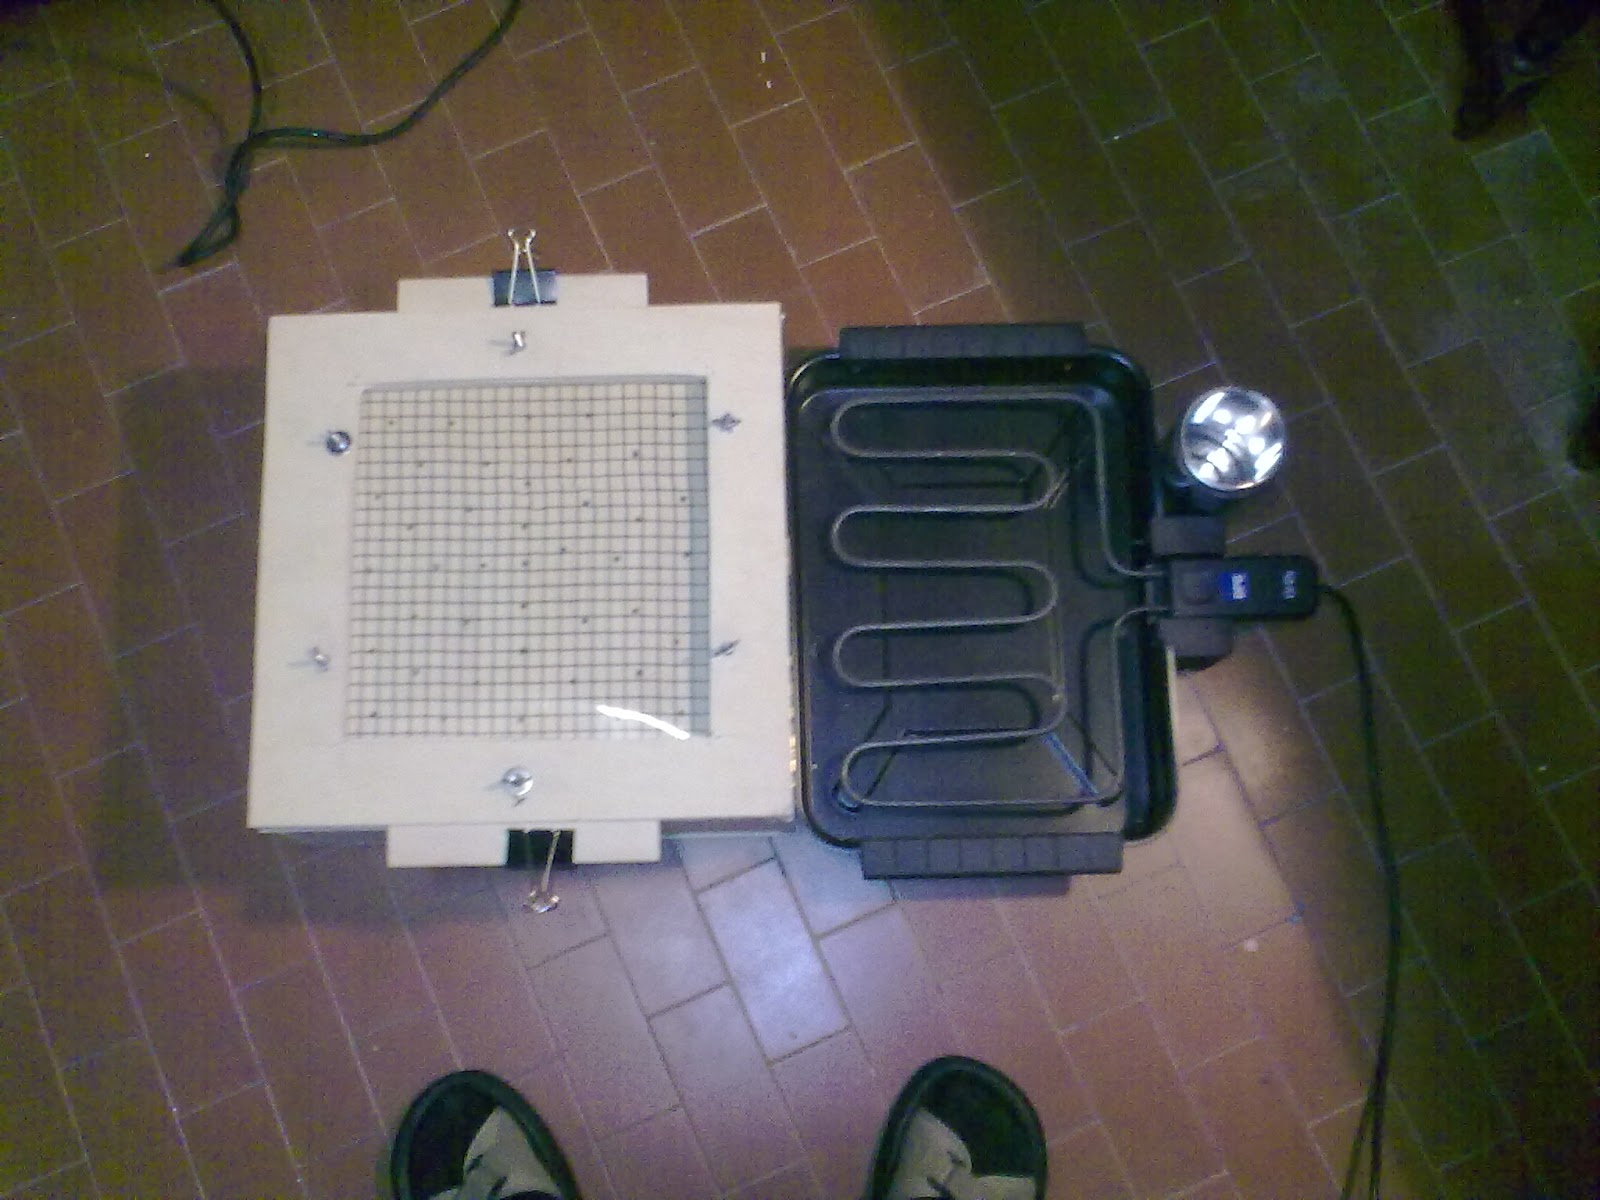
Di seguito il macchinario.

With a zipper, attached to this box with holes, there is a frame that will host the PVC sheet.

So we are left with:
- Place the PVC sheet in the frame.
- tighten the clamps. Turn
- resistance.
When it became pretty red, we turn over the paper and wait for the time necessary to soften it.
(small note: the sheet of PVC phases in the heating. In first there is a tendency, then slowly "loose" and tends to soften after a while 'is white and come to this' last point, it becomes unusable so beware!)

the paper is folded on a steam (I have previously turned on the drum) and 3 outlet covers thermoformed!


Spero che il tutorial sia stato di vostro gradimento e...
Buon divertimento!
0 comments:
Post a Comment